Custom Sneaker Guide
Here’s your full guide to customizing your sneakers with some video demos to help you at every step. Whether you’re customizing for the first time or looking to sharpen your skills, here’s the full step-by-step breakdown of the process, including expert tips, best practices, and video demos to help you along the way.
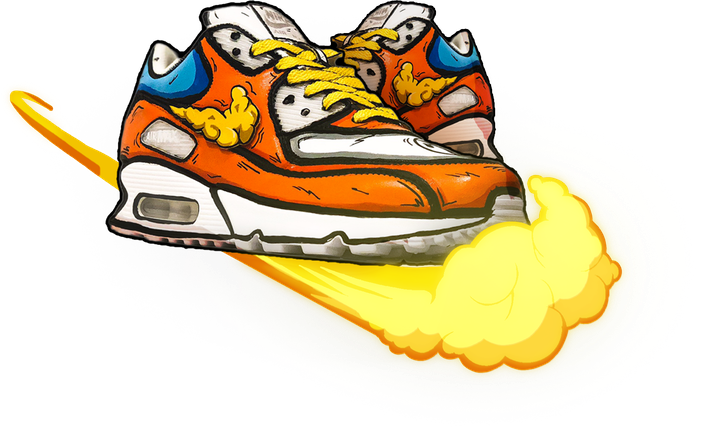
Scroll or click here to start
De-lace
Before anything else, remove the laces from your sneakers.
Why it’s important:
- Gives you full access to all panels and seams.
- Prevents paint from accidentally getting on your laces or stuck underneath them.
- Makes taping and painting cleaner and easier.
How to do it:
- Gently unthread the laces starting at the top.
- Set them aside safely if you plan to reuse them, or replace them later with fresh laces.
Pro Tip:
Even if your laces are white or light-colored, never paint with them still in. It’s almost impossible to get clean paint lines around eyelets without removing them.
Prep with Acetone
Surface prep is critical. Factory-fresh sneakers usually have a protective finish (a clear coat) designed to repel dirt and water, but it also repels paint.
Why prep with acetone:
- Removes the factory finish and oils.
- Creates a raw, matte surface that paint can bond to.
- Helps prevent cracking, peeling, and flaking over time.
How to properly prep:
- Wear protective gloves to avoid drying or irritating your skin.
- Work in a well-ventilated area or outdoors. Acetone fumes are strong!
What to look for:
- A properly prepped sneaker will look slightly duller and lose its original “shine” after wiping.
Common Mistake to Avoid:
- Don’t drench the material. Light, repeated wipes are better than soaking the surface.
- Don’t skip seams and corners. Paint failure often starts where factory finishes are left behind.
Start Painting!
Now, the fun really starts: painting your custom design.
Best Practices for Painting:
- Apply thin, even coats.
- Think of it like misting color onto the shoe, not trying to cover it thickly all at once.
- Always apply at least three thin coats. Building up layers slowly gives you smooth, flexible coverage that won’t crack.
- Alternate shoes for efficiency. After painting one shoe, switch to the other to allow drying time between coats.
How to properly prep:
- Wear protective gloves to avoid drying or irritating your skin.
- Work in a well-ventilated area or outdoors. Acetone fumes are strong!
Drying Time:
- Allow about 5 minutes of air drying between coats.
- If you’re in a hurry, use a heat gun held at least 8 inches away on a low setting.
Heat Gun Pro Tip:
- Always keep the gun moving.
- Never point it too close or hold it still — too much heat can warp or bubble the material!
Common Mistakes to Avoid:
- Applying paint too thick. Thick coats trap moisture and crack when they dry.
- Not waiting between coats. Wet-on-wet painting leads to uneven, tacky finishes.
Apply Clear Finisher
Step 4: Seal Your Work with a Clear Finish
Once you’re happy with your painted design, it’s time to protect it.
Why sealing matters:
• Shields your paint from dirt, water, and UV light.
• Adds a flexible layer that prevents cracking during wear.
• Creates a more professional-looking finish (matte, satin, or glossy based on preference).
How to Apply the Finisher:
• Use Angelus Clear Coat (or equivalent brand).
• Lightly mist or brush on 2–3 thin coats.
• Allow 5–10 minutes drying time between coats.
Finishing Pro Tip:
• For best results, lightly heat-set the final coat with a heat gun to lock it in.
Choose Your Finish:
• Matte: Natural leather look, no shine.
• Satin: Semi-gloss, slight sheen.
• Gloss: High shine, “fresh out of the box” look.
Mistakes to Avoid:
• Overloading the finisher. Heavy coats can cloud or drip.
• Skipping sealing entirely. Your paintwork won’t last without a seal.
Once you’re happy with your painted design, it’s time to protect it.
Why sealing matters:
- Shields your paint from dirt, water, and UV light.
- Adds a flexible layer that prevents cracking during wear.
- Creates a more professional-looking finish (matte, satin, or glossy based on preference).
How to Apply the Finisher:
- Use Angelus Clear Coat (or equivalent brand).
- Lightly mist or brush on 2–3 thin coats.
Apply Your Decal
Adding a decal brings a bold, clean graphic element to your custom sneakers.
Steps to Apply:
• Place your decal design side down, white backing side up, onto a clean, dry part of the sneaker.
• Using a squeegee or credit card, press firmly across the entire decal:
• Go back and forth 2–4 times with firm, even pressure.
Now, lock it in:
• Once the decal has been firmly pressed down, slowly peel back the white layer.
• Start at a corner and pull steadily at a low angle (almost flat against the shoe).
• If the decal starts to lift, stop, re-squeegee, and try again.
Lace Up Your Sneakers
Now that your design is complete, it’s time to add the final touch: new laces.
Choosing Your Lace Color:
• Complement or contrast your design.
• Make the laces a highlight, or keep them subtle depending on your aesthetic.
Lacing Tips:
• Traditional criss-cross, straight bar lacing, or even creative styles like lattice lacing can dramatically change the vibe.
Let them dry & fix any mistakes
Dry to the touch is not the same as fully cured.
• Allow at least 24–48 hours before wearing your sneakers to ensure the paint and finisher have fully bonded to the surface.
• If possible, cure them in a dry, ventilated room without direct sunlight.
Show Off Your Creation!
Congratulations! You'ree officially a sneaker customizer! We’d love to see what you created, so please post your sneakers on Instagram and tag us @StompingGroundCustoms
Need more help?
- Feel free to contact us for one-on-one lessons
Interested in events?